Come on, you know you want to

and there's no law against it.... you know

we might even learn something anew.

For sure, we'll make something new.

Well I will.

Will you?

Let me know if you do.

Tuesday, 17 November 2015

Louies Jumper - Sunday 15.3.15

I decided that Louie needed a STRIPED JUMPER, so I set to and knitted him one. 
Perhaps I should have bought a pattern as it took me several attempts to make this mediocre version.
Nice wool though, really nice wool - sooooo soft.


I'm happy with the result.

Saturday, 17 January 2015

Happy Hats - 17.1.15


Been making hats for Christmas etc.
Ears are the latest black.

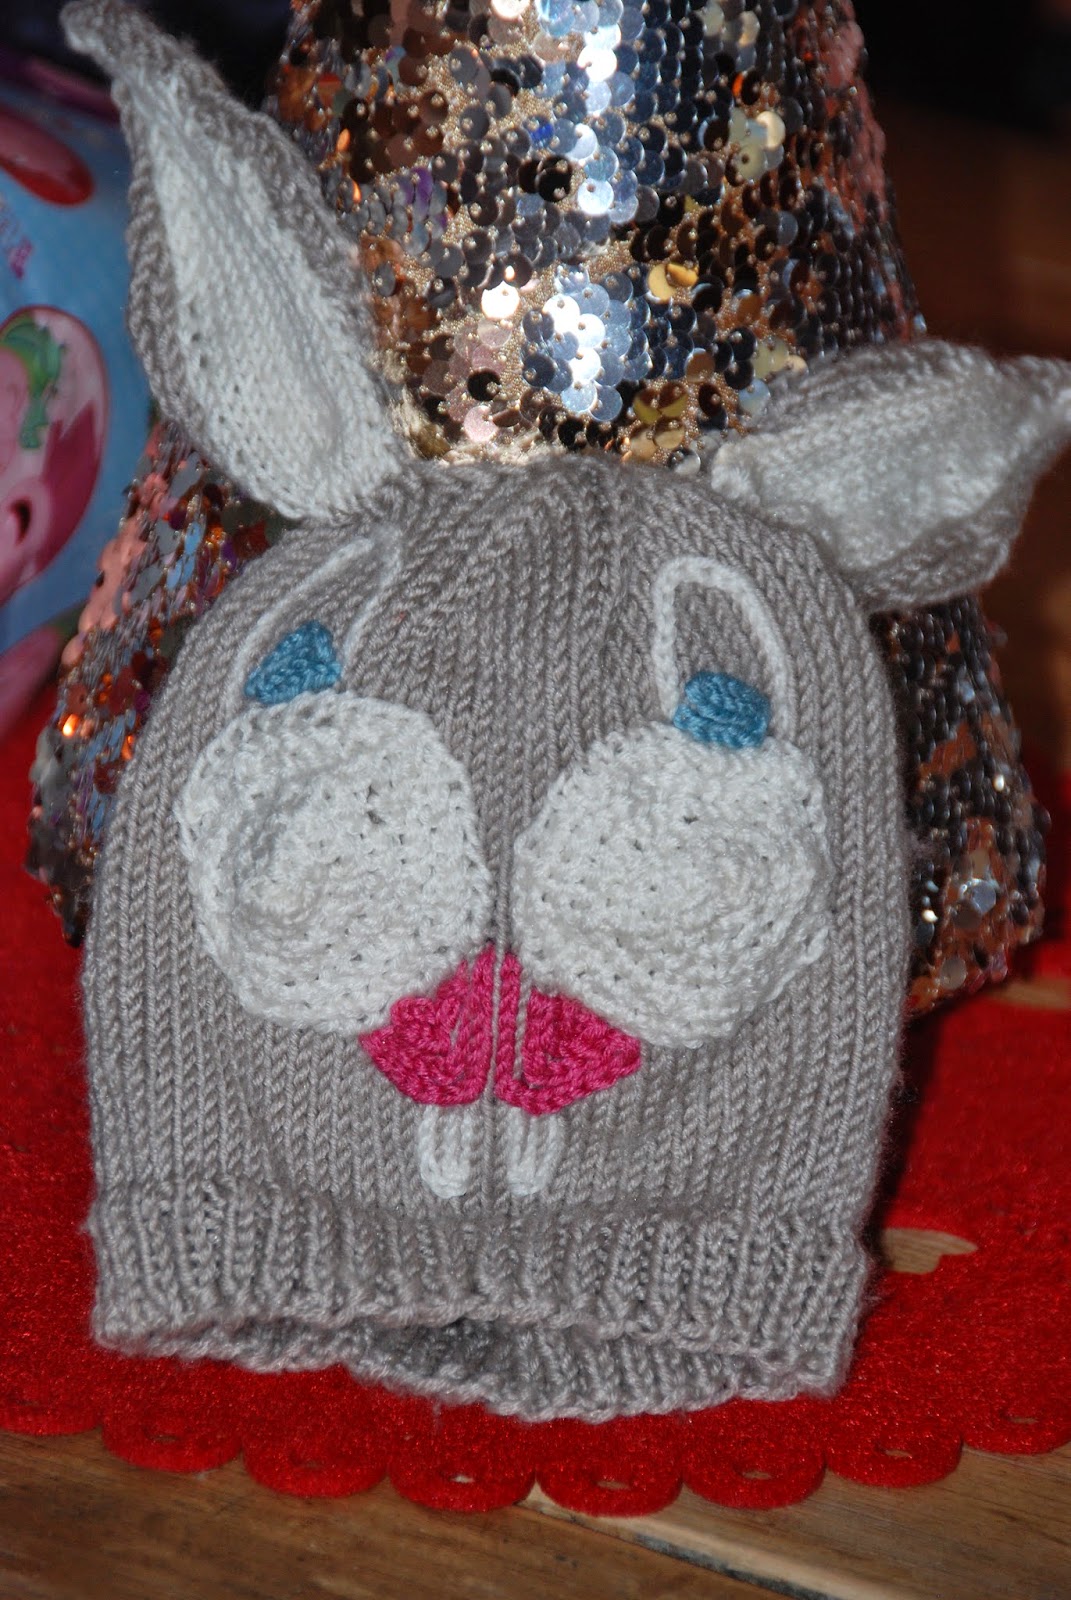
Bunny bonnet 

A pretty selection.

What a cool hat on such a hot baby!

Thursday, 3 October 2013

Misspent Adulthood


I had a strip of plywood and a staple gun.


and simply stapled the wristbands to the wood in a preplanned order.

All the stapling was done on the back which looked messy and lumpy. There was nothing for it. I cut off all the tail ends, and those plastic clips and metal rivits they seem to come with these days, so that the whole thing would sit neatly on the mount board.
Then, off to Bob Warner to get my creation framed.


Finally, onto my kitchen wall.

Pretty stunning.

I want another one, so Sunday will see me trying for Glastonbury tickets.

Wish me luck, I feel another work of art coming on!

Sunday, 2 September 2012

Heart!

Enjoy this little thing:


a thing that'll have to keep you guessing for a moment. 

More about this in a little while!

Monday, 7 May 2012

Mad Hat

Here's the latest bit of work, another mistresspiece!


And yes, it's destined to be a LAB HAT!

Monday, 30 January 2012

Lab Hats


These hats knit up very quickly,

usually one evening to get this far, 2 evenings if you have other things to bother with.

Sewing in the loose ends and then seaming up to finish it off, takes the best part of another evening.

I think it rather suits Bellas Teddy. Nice detailing on the crown.

I don't know if it's what was wanted, I sort of hope it isn't, because then I could keep it.

Now I'm starting a CROSS STITCH project.....

I'M NOT SO GOOD AT CROSS STITCH,

WISH ME LUCK

: P

Sunday, 15 January 2012

Baby Blanket - yet another one!


I managed to finish off this little wonder over the last week.

The side strips were knitted separately. The pin is there to help me know how far I've knitted in this session, because they felt NEVER ENDING!

The side strips were sewn on and then the top band was knitted in.

The final article is soft and cosy; it's also reversible as it's in moss stitch.

It has been a great way to use up these odd and ends of yarn. 

I have no idea who to give it to .........

Anyone pregnant?

: )

Thursday, 15 December 2011

Fir Cone Garlands

Christmas is coming,
The nut roast's getting fat,
Please put a penny in the old gardeners hat.
If you haven't got a penny
A fir cone will do,
If you haven't got a fir cone,
May god bless you.


Gather your kit. You can use natural fir cones, but I have some that I sprayed last winter. Any easy to use wire will do, as long as you can twist it tight with your fingers. One small orange box, well filled, will make a plumsiously packed garland of about 2.5m and will take about 2.30hrs to complete.


Wrap wire around each fir cone, near the base (usually about a quarter or a third of the way up from the base works the best), hiding it near the core of the cone. If your cones are very dry, they will be open which makes this easy. Twist the wire once or twice to secure and cut, leaving ends of 1 to 4cms long.


Keep half a meter/18" string at start and finish for tying up your garland. Twist the wires tightly onto your string, so that the fir cones don't slip up and down the string at all. Cut off the spare ends of wire and tuck in the tail end bits of wire.


Hang up, or spiral in a tree shaped pile. Run a string of lights through them for sparkle, and/or add other decorations to taste.


Failing all that, I have to admit that they do look good chucked loose into a bowl, after they've had a dash of spray. 

Thursday, 18 August 2011

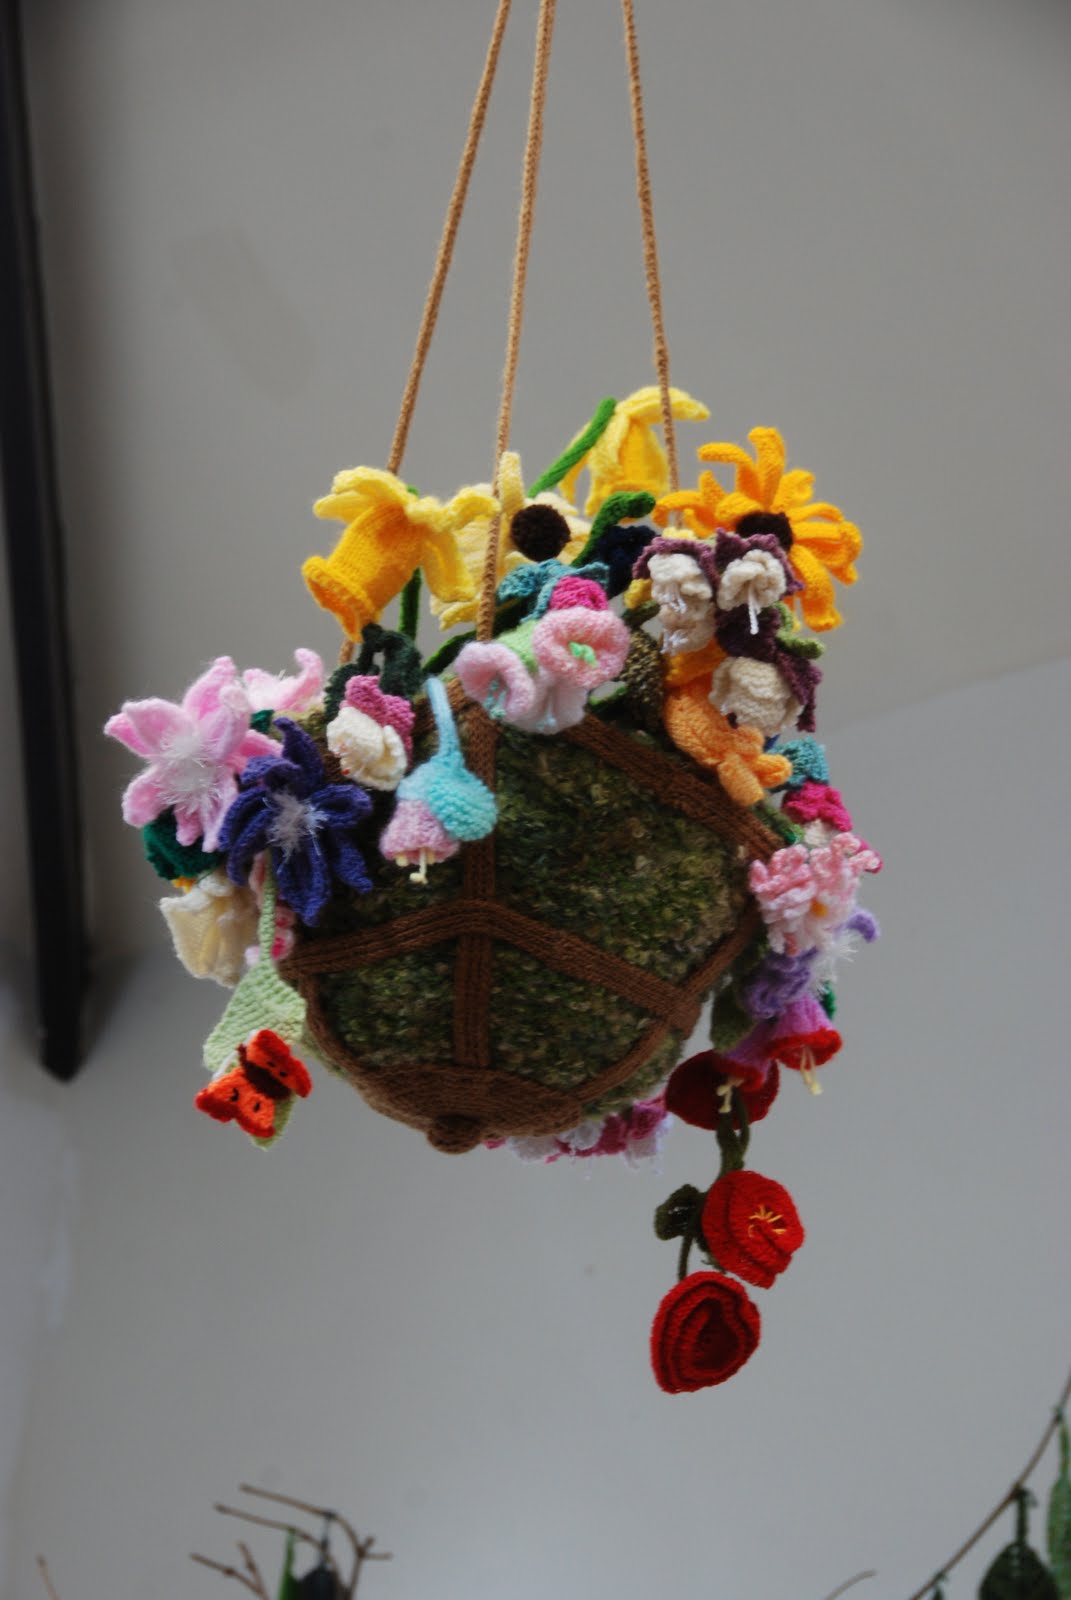
Blooming Marvellous


Come knit with me???


Anyone could join in, here, or at home. Enjoy the images that follow. No words.


I want to play - bring it on!

Monday, 18 July 2011

Rabbit


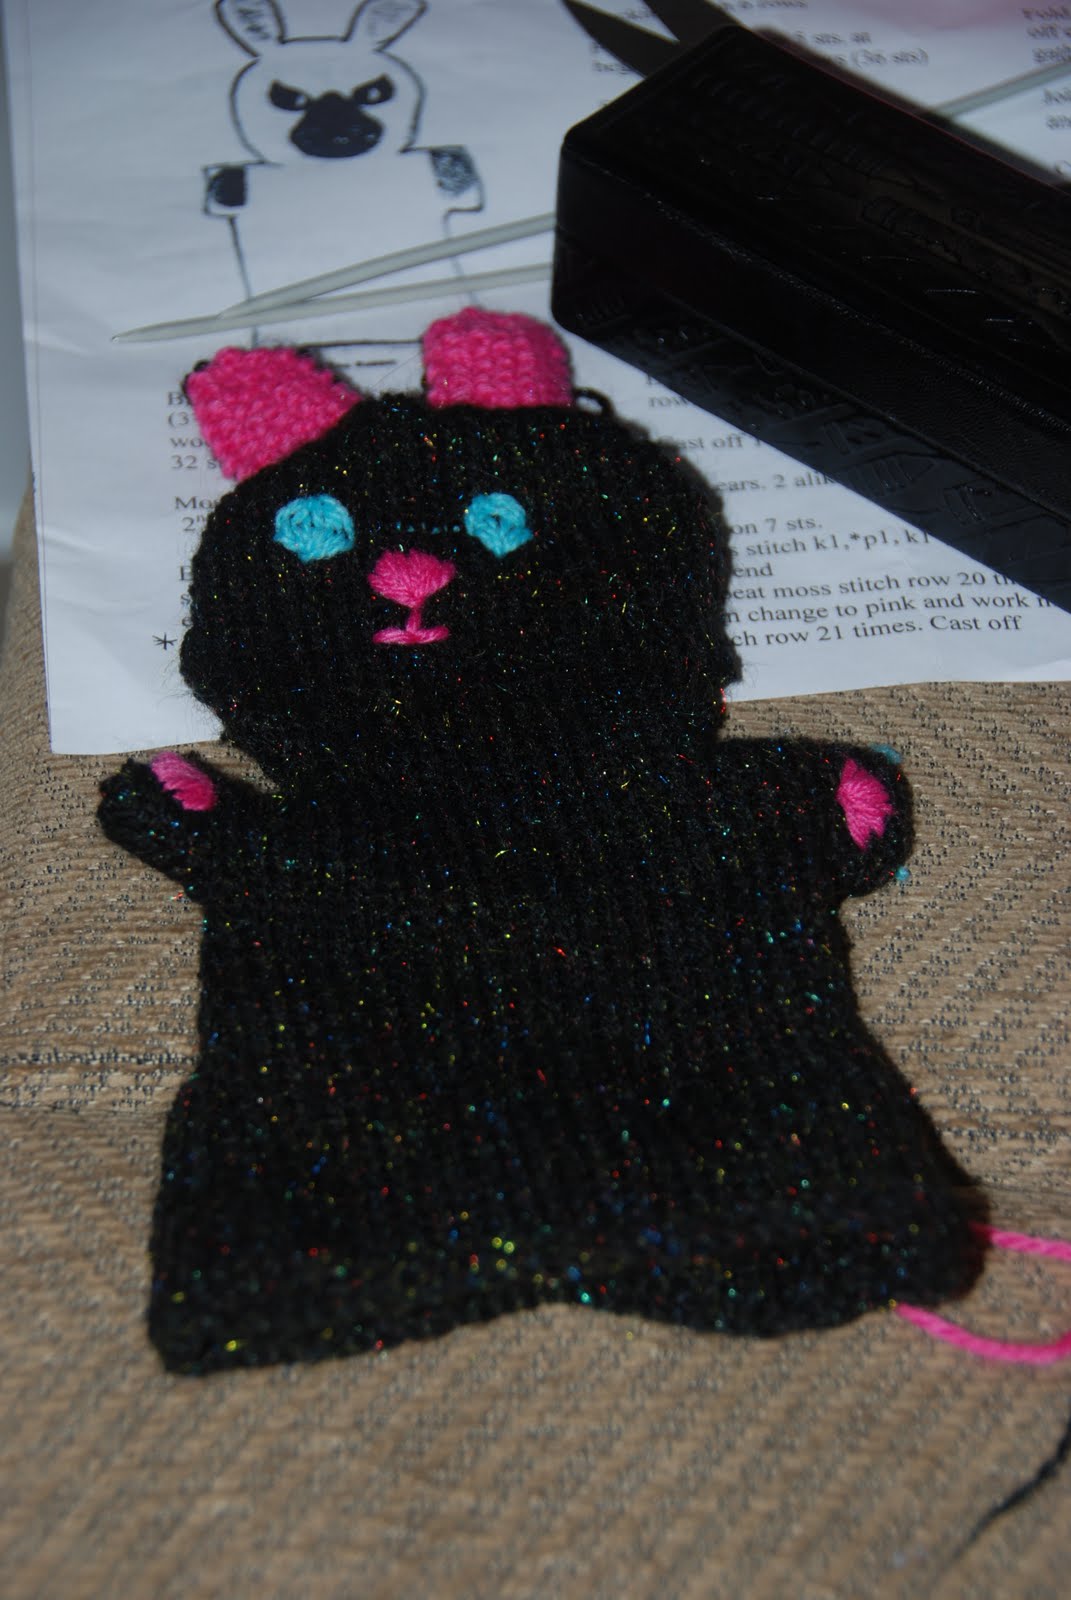
Here it is, The Rabbit!


You stick your hand in it,


and there you have it; one glove puppet for African children.


What? WHAT??
What did you think it was going to be
??????????
: )

Saturday, 9 July 2011

PMC .... Silver Clay Workshop - Saturday 2.6.11


Been on this MAGICAL COURSE at KINGSHILL HOUSE, DURSLEY. Run by CLARE JOHN


Everything was ready when I got there. All I had to do was listen, watch, DO!


SILVER CLAY has to be manipulated into jewellery by using a few simple techniques.


Several steps,


using all kinds of tools,


gives us pieces that we might actually want to wear.


Up until this point the clay can always be reused! Even if it's been dried.

The pieces I made on the PMC (precious metal clay) course. Not perfect, but a start.
Once fired, the clay turns into silver - SILVER!!!!! 

Get on a course NOW! No previous experience needed!

How cool is this, after many years of silver and gold jewellery making, it all gets VERY SIMPLE.

WOW!!

Sunday, 12 June 2011

Blanket for Baby


This little blanket is done. Well the truth is, I've finished the stripes. 


I like the look of the repeating stripes and the soft feel of these wools, all of which came from Emmaus, the local charity shop.


This is all the wool I have left over, Talk about cutting it fine. And, NO, there's NO lilac wool left - NONE AT ALL!


The final task is to knit a border on the 3 naked sides. I'll do this by transferring the stitches you can see on those safety pins, to a knitting needle and then knitting into each row as I work my way up each side.
I'm sure it'll be lovely when it's finished!

Lucky there's not a baby waiting for it!

Saturday, 11 June 2011

Garden Glass


Garden glass ornaments are fun. I thought I'd like to learn how to make something using COPPER FOIL with CAROLINE LAMBERT at KINGSHILL HOUSE, DURSLEY. The class also worked in LEADING and FUSING. Pretty good for 30 quid plus materials.


First off, learn to cut glass. Then choose a design, then select the glass for the job, and get cutting.


File off the edges of the cut pieces - diamond sander, water cooled; wash the pieces. Then stick on the COPPER FOIL, overlapping the final end about quarter ins. Fold the free edges over and stick onto each face of the glass, fold the corners very neatly and burnish with an 'orange stick'.


Put on flux and then run solder over the copper foil. Do back, front, then the side edges.


If things get too hot, use a peg as a handle!
These pieces can now be attached to each other, or to copper pipe, or made ready to be hung up. Copper pipe needs to be cleaned with wire wool, washed and dried. Where the pieces are to go the pipe's then 'tinned' = covered with Gel flux and coated with solder. The pieces are then abutted and the joint/s are flooded with solder. Hey presto! a solid work of art.


Sadly, this one fell off. MORE HASTE, LESS SPEED.


The final result, even with the orange piece missing is pleasing and only cost about 7 quid for the materials. 
ABSOLUTE BARGAIN!


I really wish I could have spent a full day here, for less than 3 hours, from a standing start, this is AMAZING.